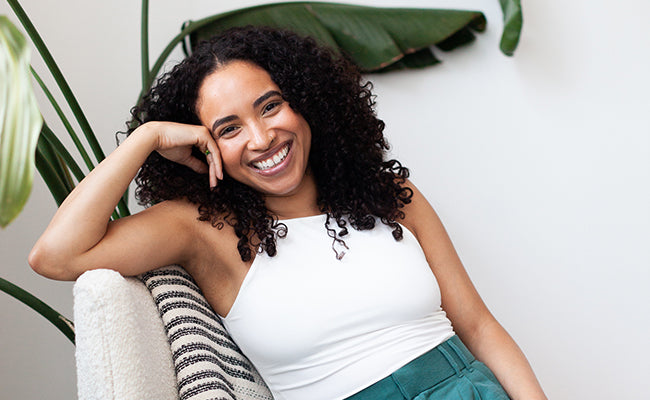
Moisturized and Defined NO GEL WashNGo for Thick Curly Hair
What better WashNGo than having moisturized and DEFINED curls? Especially when having thick curly hair, sometimes this seems unattainable but we're here to tell you that IT IS! Even without using a gel...
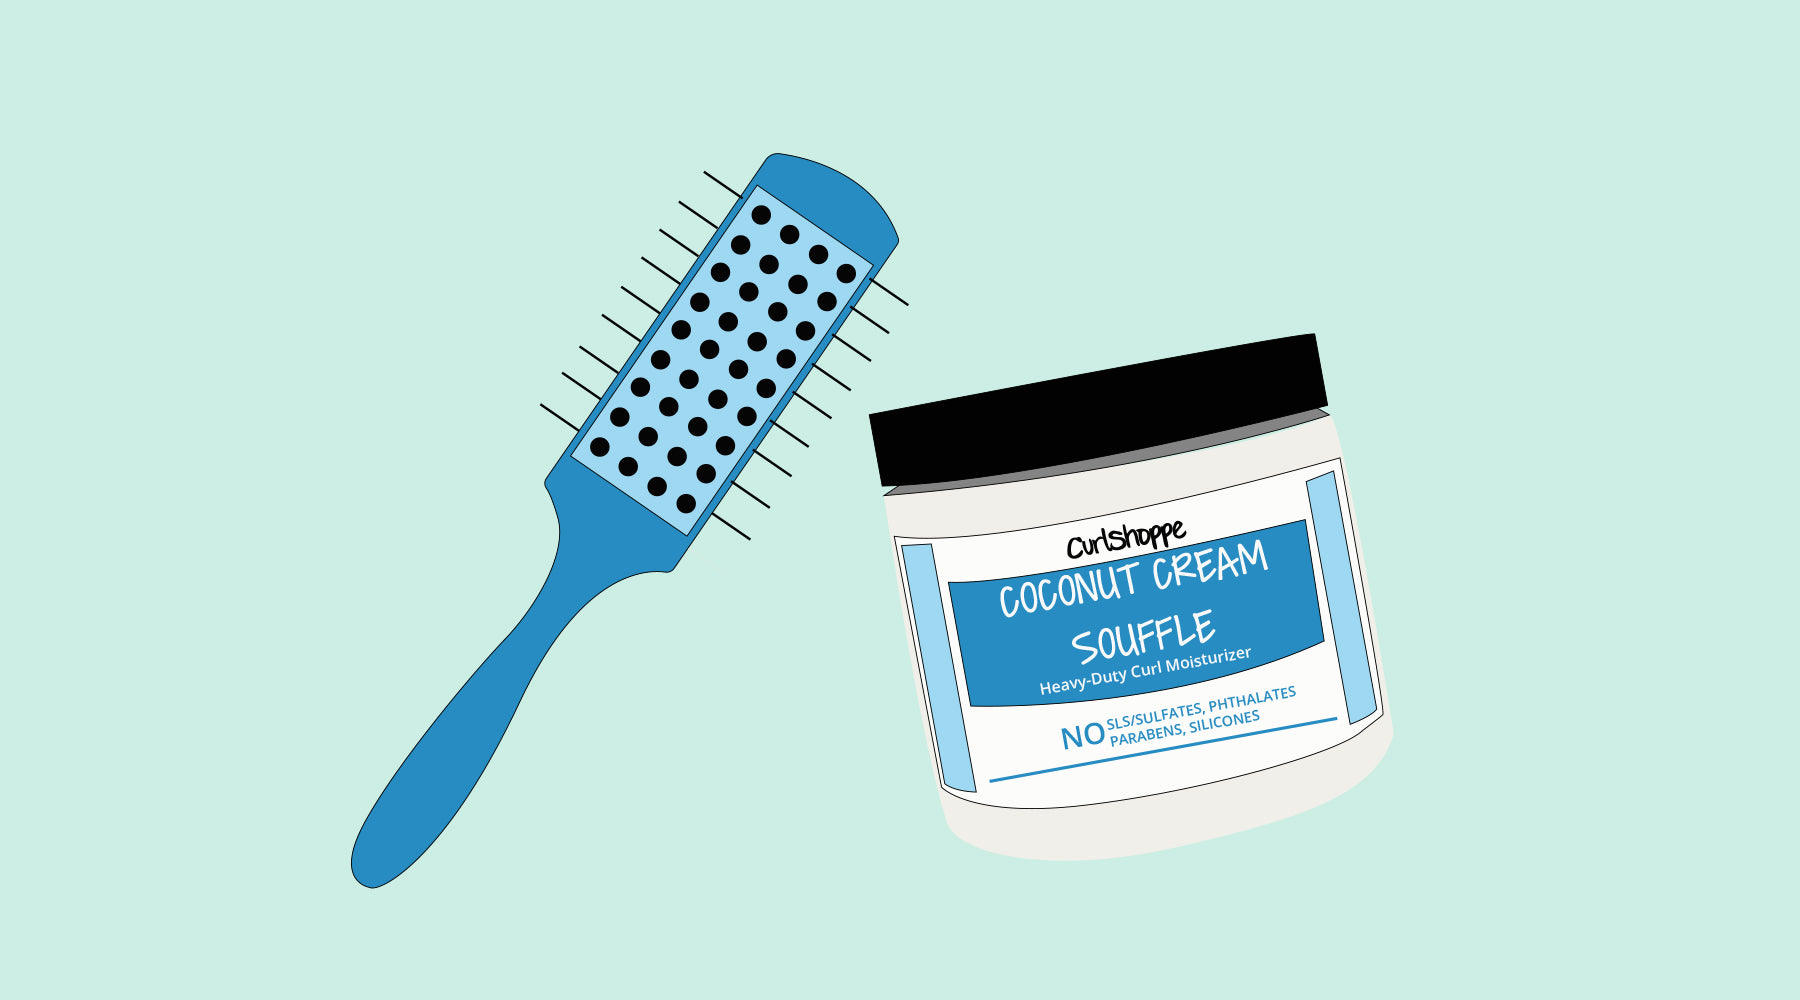
The key to having both definition and moisture is by using a heavy cream that will help clump your curls together, and the perfect hair accessory tool to get those curls bouncing. The secret? Here it is...
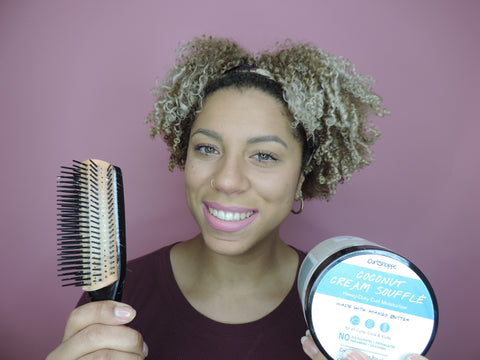
COCONUT CREAM SOUFFLÉ + A (MODIFIED) DENMAN BRUSH
I've gone through a lot of trial and tribulation when it comes to my washngo. But having the RIGHT combination of PRODUCTS and TOOLS made all the difference!! Also knowing how to switch up the washngo between summer and winter was a game changer. In the winter you need more moisture so it's best to choose a heavy cream to define your curls vs choosing a gel in the summer to battle the humidity (all the moisture in the air). But if you generally don't like using gels in your hair then this is also just a perfect no gel washngo option to use all year round. I personally like volume so this was the best for me.
Here's how I do my no gel washngo (aka my "winter washngo" for the colder months).
Styling Thick Curly Hair (Without Gel)
- Wash your hair with shampoo and detangle with a conditioner after (deep condition if you have time to do so), then rinse everything out
- While hair is still very wet, apply a leave-in conditioner (either the Coconut Milk or Butter Milk Leave-In's)
- Section hair (in 2 or 4 parts), clipping away each section, then starting from the bottom (base of your neck), follow the next few steps per section:
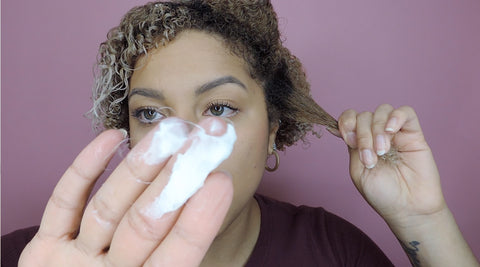
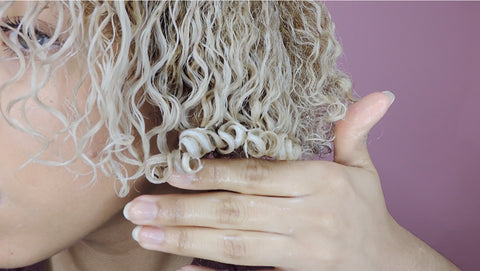
- Take a small scoop of the heavy cream (Coconut Cream Soufflé) with the tips of your fingers and smooth onto your hair
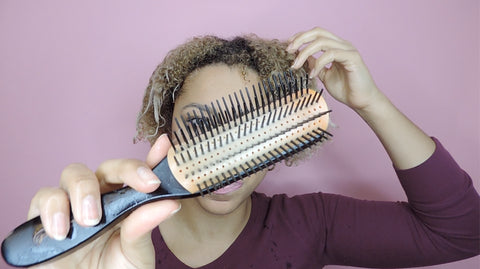
- Grab your modified denman brush (instructions for how to modify your denman brush here) and brush a few times, gently, from the roots to the tips until your curls start to clump together and bounce (you should see little ringlets at the ends) *you may need to use the flick of your wrist
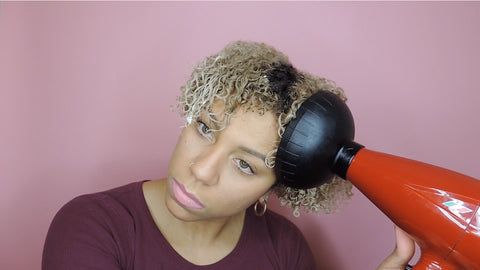
- Once you've repeated all throughout your hair, it's time to diffuse!
- Put your blow dryer on medium heat and medium speed with the diffuser attachment on, and diffuse (scrunch from tips up to roots) until hair is dry
- If your hair is shorter or you want to see more length... Switch the diffuser attachment for the concentrated nozzle then slightly tug on your hair and blow dry your roots a bit to stretch your hair (I also then switch the settings to cold after and do a quick blow dry throughout)
- Add some oil onto your hands (Butter Oil Blend) and smooth onto your ends to add some shine and seal in the moisture; you can also add some oil to your scalp if it tends to be on the drier side
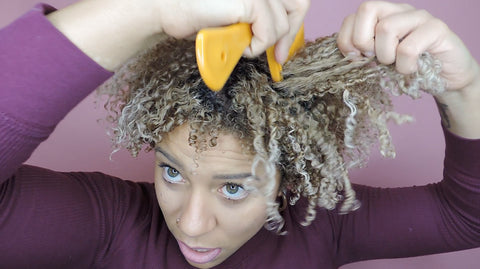
- If you like more volume... Get a very wide-tooth comb and "fluff" at the roots to get a full head of curls kinda look


And there you have it, 10 steps to your best moisturized and defined curls :)

Read more
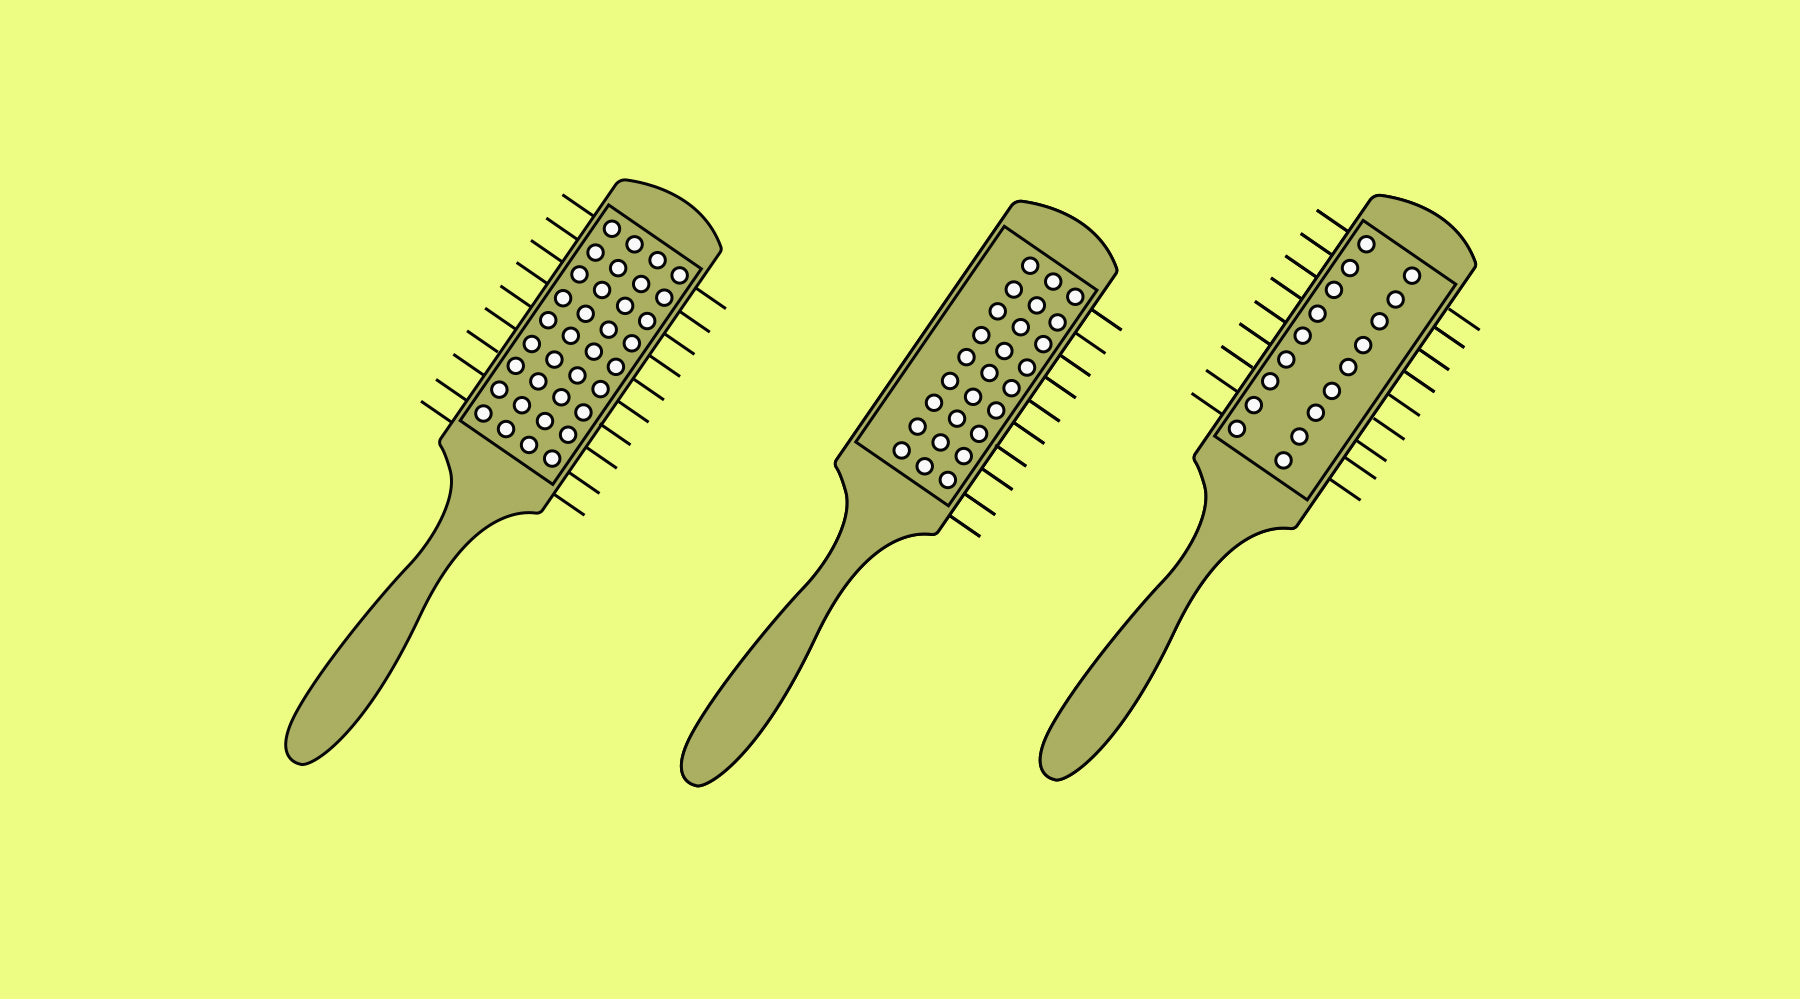
Modifying a Denman Brush for Thick Curly Hair
Before I thought a Denman Brush just wasn't the right hair accessory for me. I have very thick curly hair so when every time tried it I would just end up with brushed out curls. But then I learned...
Read more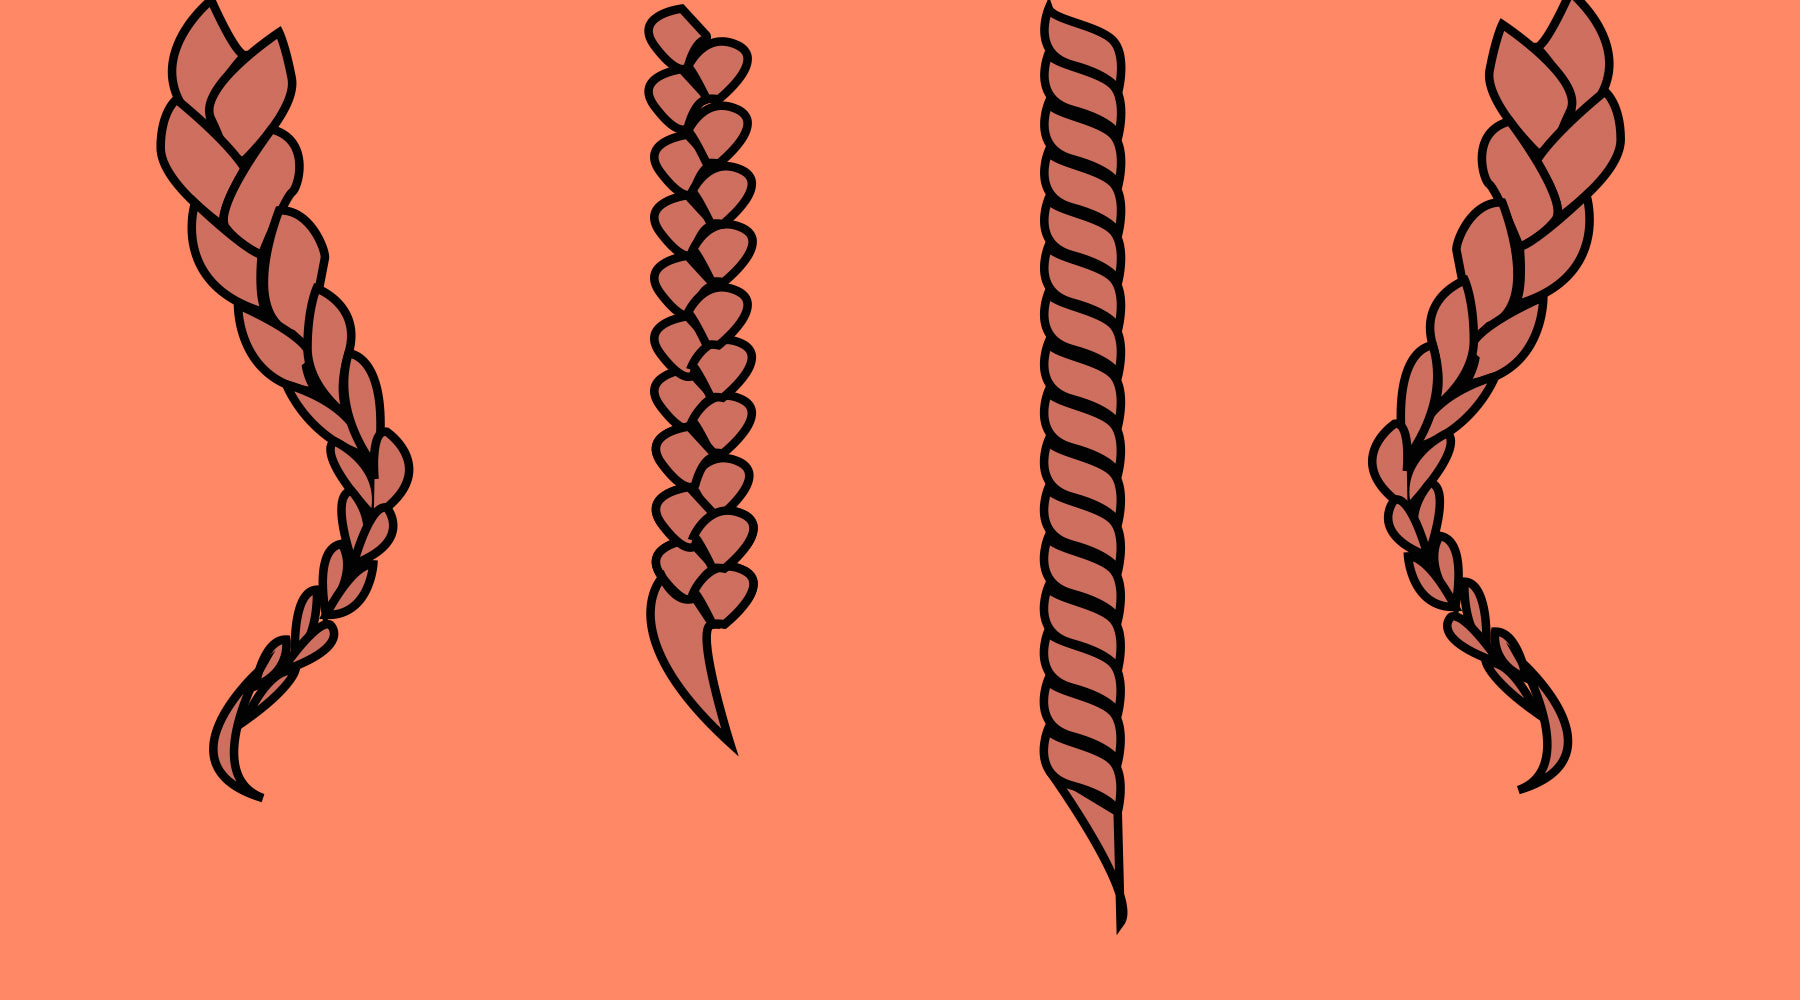
For those with 3C/4A THICK hair that needs a lot of moisture, braidouts can be the best style but there's a few ways to do it. Plus there are a few tips on making sure you get your best braidout an...
Read more